How zellige tiles are made
From hard clay to beautiful colored zellige tiles, find out the handmade ancestral traditions of making moroccan tiles in our facilities in Morocco in Fez and Casablanca.
step 1
Finding a good quality clay is extremely important to produce a top quality Moroccan tile. The region of Fez has one of the best quality clay in Morocco.
step 4
After filtering the clay a skilled craftsmen flattenes by hand the clay into square shapes. This part is very important because the clay must be compact with no air bubbles in it.
step 7
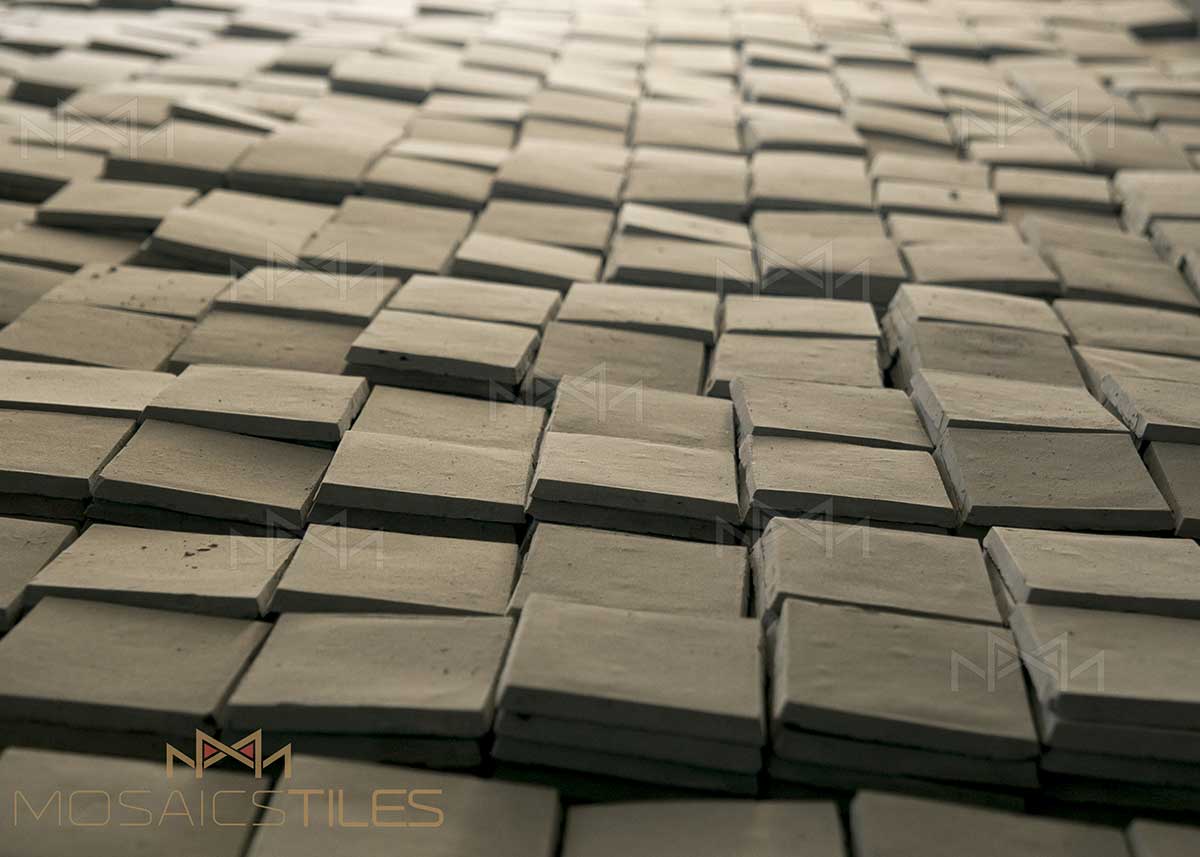
The tiles are now placed in the natural wood fired kilns. In traditional moroccan kilns heat circulates unevenly giving slightly different tones of colors to each tile. This imperfection makes Moroccan tiles so unique and beautiful.
step 10
The second craftsmen roughly cuts and shapes the tiles with the help of a sharp tool that looks like a combination of an axe and hammer, this medieval tool is called in Morocco "menkach”. This tool is also hand sharpen on a natural rock.
step 13
A three component ISO certified glue is applied. It takes 24 hours for the glue to dry completely, once dried the tiles sheets are now ready to be installed. The thickness of our zellige sheets is 1.3 cm.
step 2
The clay is soaked in water until it reaches a soft texture. Once the clay is soft enough to handle it is filtered by hand.
step 5
After the clay is shaped, molded and flattened, it is kept and stored in a cool dry place to be readied for a first bake.
step 8
The end raw product is a 12 cm x 12 cm tiles with uneven edges.
Note: All our tiles are done 100% handmade. Our factory use the same techniques as our ancestors to ensure quality and authenticity.
Step 11
The most important part of this entire process is the third craftsmen called also master craftsmen, he specializes in cutting of all the excess clay and applies precision cutting. The end results are all these different types of shaped pieces that will be assembled to create the zellige patterns. the possibilities are unlimited.
step 14
In Morocco tile craftsmen install tiles one piece at the time. This is why for many years Moroccan zellige tiles were difficult to export. Today with our production technique zellige tiles are easy to install.
step 3
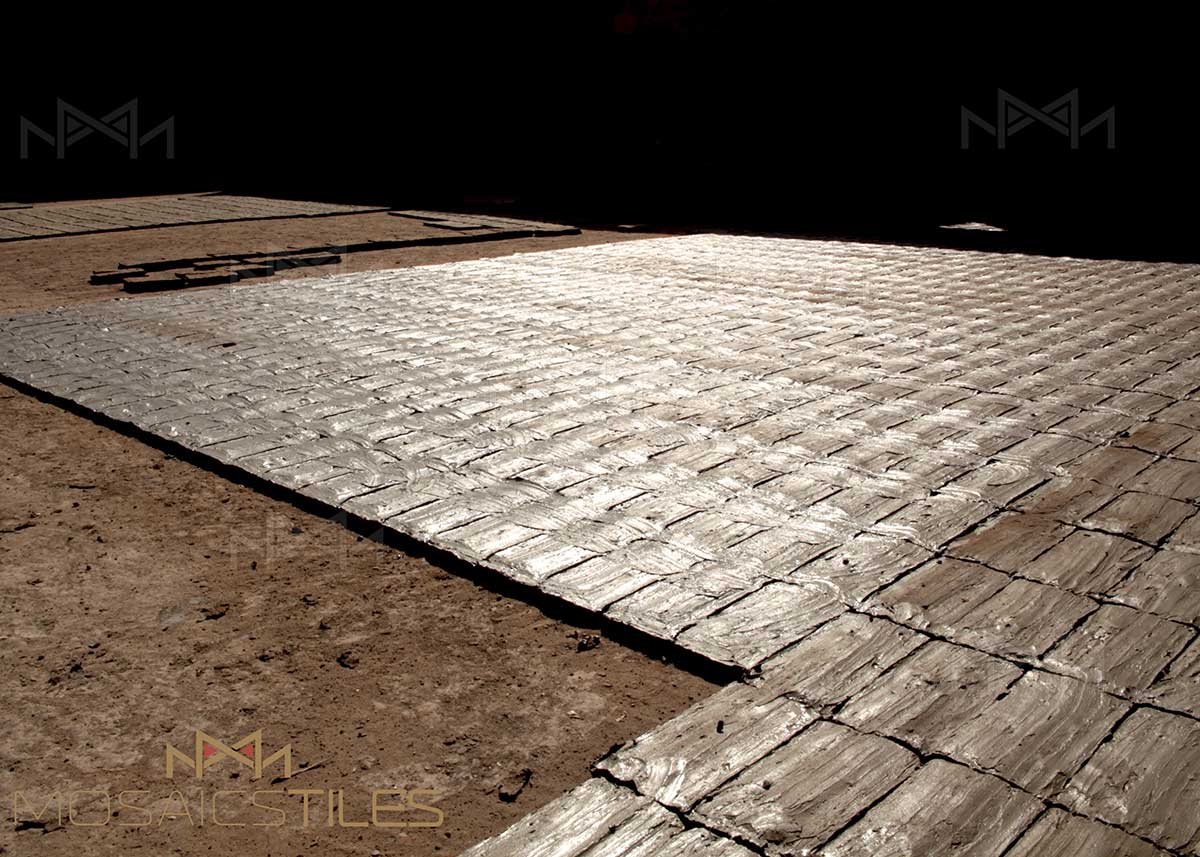
The square raw clay tiles are then sundried in an all natural way. Most tile production takes place in the summer, early fall and spring.
step 6
After tiles are well dried another skilled craftsmen applies the colors to the upper part of the tiles. Be aware that today in Morocco many tile factories use paint guns to apply colors. Using spray guns provides the same looking tiles and many more colors are available with a lower cost. The reason we don’t offer spray painted tiles is to ensure that the paint coating is thick and resistant.
step 9
Zellige making is considered an art in itself. The art is transmitted from generation to generation by master craftsmen. They are 3 craftsmen needed for zellige. The fist selects the tiles and then draws the shape desired and passes the tile to the next craftsmen.
step 12
We use lazer cut metal frames. The lazer cut frames insures us of equal dimensions on each of our Moroccan tile sheets
When the zellige pieces are ready we place each zellige tile by hand within the metal frame.


